
10.50.0 – 10.67.0 Highlights
Shipment Containers
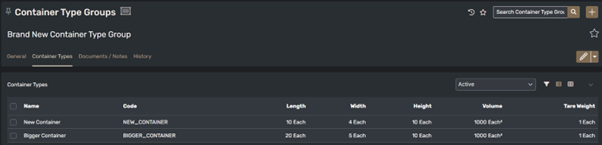
Shipping Containers can now be used when shipping orders. The Container Type Groups and Container Types modules can be used to set up the required standing data, defining the available containers, their dimensions, their costs, and grouping them together.
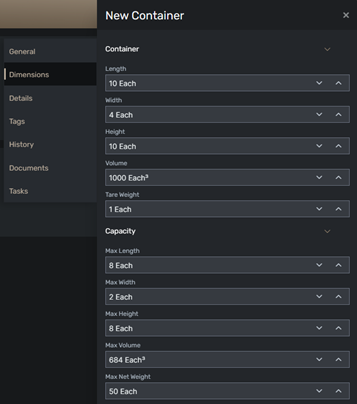
Once created, within the Shipment Containers tab of a Shipment record, you are then able to add a container to the shipment and add items from the shipment into the container:

Alternatively, there is a new Pack Container action available on shipments that will automatically, based on the Container Type Group you select, identify the combination of containers required to pack your shipment. This is carried out using the dimensions of the containers, the dimensions of the products to be shipped, and will prioritise the use of containers to achieve the lowest overall container price.
Video Player in Documents tab
There is now a Video Player available for any records that have the Documents & Notes tab. Similar to how Text/PDF documents can be previewed, rather than having to download the document from Cloud and open it locally to view, this allows for any videos uploaded to Cloud to be viewed directly within the system.
Absence By Hours
There is a new Application Setting for Booking Leave Type:
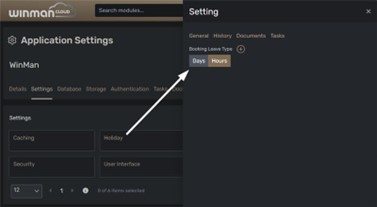
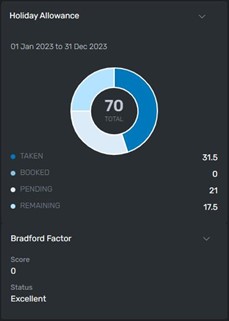
Which determines the unit that Leave will be displayed in, in HR Hub when setting the allowance:
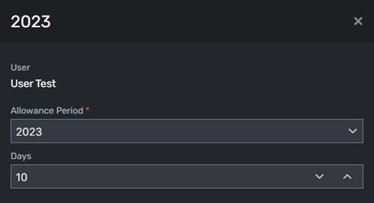
When the setting is updated the allowance is converted, based on the user’s Shift Pattern:

The setting also dictates the display in User Hub:
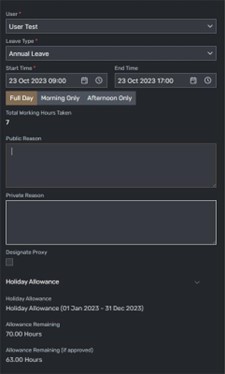
When requesting leave:
Product Kits
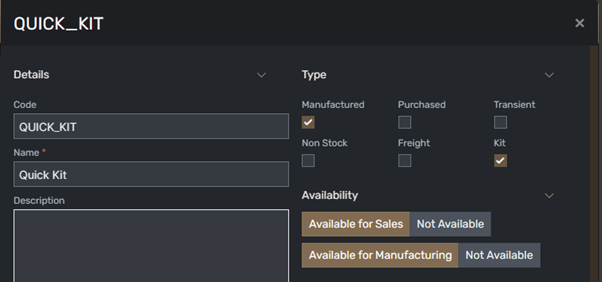
With Product Kits you can create a Product, mark it as Manufactured and then also mark it as a Kit.
The Product will not actually be manufactured but simply represents a pre-defined “kit” of components to be collected and shipped to a customer. A kit can be defined either by specifying the components on its Structure or by setting up a Configurator for the product. The kit will appear on a Sales Order as normal, when added.

Once the Sales Order is firmed, or when the Explode Kit option is selected, all of the kit components will be displayed on the order as well.

The financials sit against the kit product itself with each component added to the order at a 0.00 price. All processes, such as shipping and invoicing, are then carried out in the same way as for any other product.
Deliveries and Rejections Report
There is a new report, Deliveries and Rejections, which has been designed to keep track of deliveries that have been carried out and whether and why any of stock shipped had to be rejected by the customer. The report can be filtered by Site, Product and the dates the transport run was carried out:

The Delivery Note on the Shipment will be used for the Notes column to identify the reason why any stock may have had to be rejected.
Check (Cheque) Printing
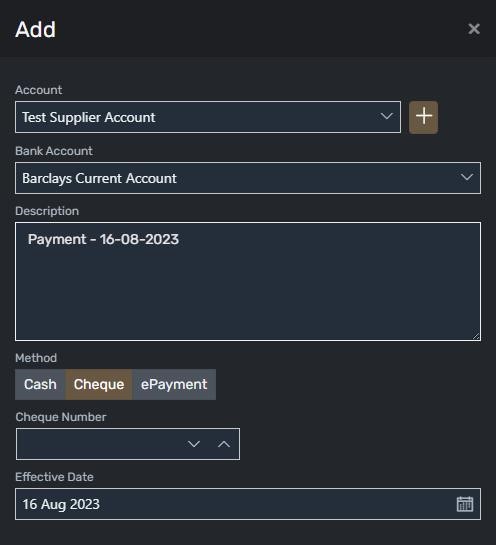
Check (Cheque) Printing is now available in Cloud. To create a Cheque to be printed a payment record must be added in Bank Payments, selecting the relevant Account to be paid and setting the method of payment as Cheque, a Cheque Number can optionally be added at this stage:
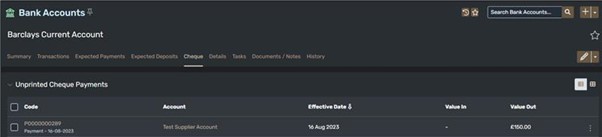
Once the relevant items to be paid are added to the transaction, and it is finalised, the Unprinted Cheque will be displayed on the Cheque tab of the Bank Account:
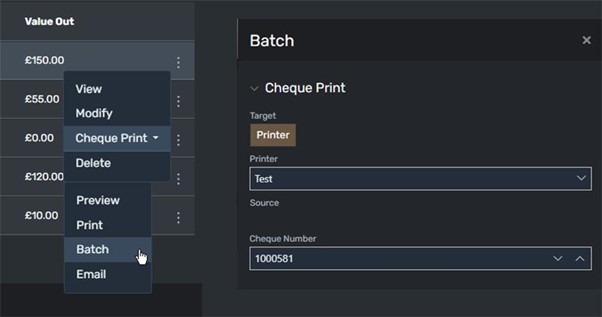
From here, one or more Unprinted Cheques can be selected and Batch Printed. The Cheque Number can also optionally be entered at this stage, with the number sequentially allocating to any cheques that have not had a Cheque Number set at the initial stage of entry. Processing here will queue the cheques with the selected paired printer:
There are some known issues for this, and therefore I would use it with caution. These will be fixed in the next couple of sprints.
Superseded Products
When a Product for sale has been replaced by a different product, this relationship can now be mapped using the “Superseded By” field on the Product Replenishment settings:

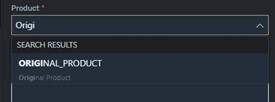
Now, when creating a Sales Order for your Original Product, the order will be automatically created for the product it has been replaced by:
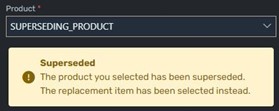
Superseding can be set on a product that supersedes another:
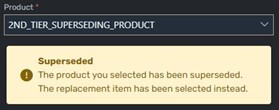
So, as many times as is required, products can be superseded, e.g. Original Product is superseded by Superseding Product which is superseded by 2nd Tier Superseding Product. Now if either Original Product or Superseding Product are selected for a Sales Order, they would both be replaced by 2nd Tier Superseding Product.
Product Testing
Test Types
Creating Test Types
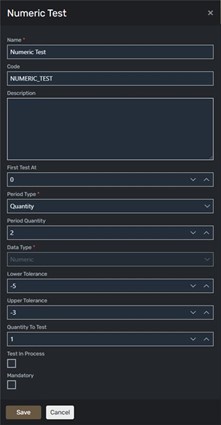
First Test At is to indicate when testing should begin, e.g. the first test should be carried out after X Quantity have been manufactured
Period Type may be any of the following:
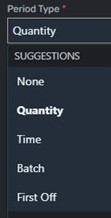
If None is selected, Period Quantity is unavailable. These both define how often Tests should be carried out.
The Data Type tells us what format the Test Results will be recorded in:
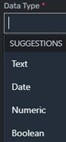
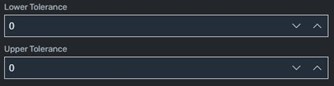
And, if this is set to Numeric, the Tolerances for the acceptable values can then be entered:
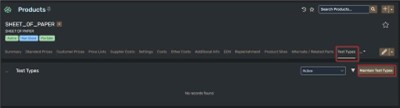
Assigning Test Types To be able to use these Test Types, to record Test Results, you will need to assign them to a Product or Process (within a Structure) record. Within the Product, select Test Types and Maintain Test Types
And within a Structure, select the relevant Process Item and Maintain Test Types:

After assigning here, the test type can be modified with Process/Product specific Period and Tolerance (if Numeric) values.
Recording Test Results
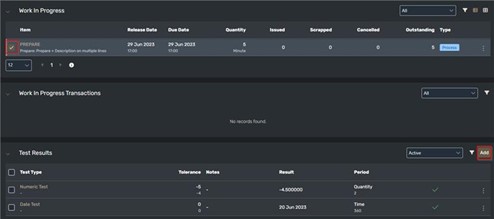
Once Test Types have been assigned to a Process or Product they can be used to record Test Results. For a Process, these will be logged in during manufacturing. On a Manufacturing Order, selecting the WIP line for a Process with Test Types assigned enables the Add button in the Test Results panel at the bottom of the screen and any previously entered test results are displayed:
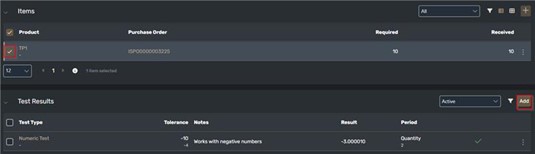
Test Results for a Product can be recorded in two places, primarily when receiving goods. Selecting a line item on a Goods Receipt will enable the Add button for the Test Results panel, and again, previously added results can be seen:
Additionally, they can be entered within the Product Hub > Stock tab by selecting an Inventory Batch to enable the Add button.
The Test Results panel here will display results for both the manufactured Product and the processes within the relevant Manufacturing Order. Test Results for purchased goods can be reviewed through the Goods Receipt record.
When adding test results you will need to select the test type, the Data Type of which will determine how you enter the test result. e.g. when the Data Type is set to Date:

Here the Passed checkbox is used to determine if the test of the Process or Product passed or failed. Also, if it’s a Numeric test being carried out, this will be read only and calculate based on the Result and whether it falls between the tolerance values.
All other data types will require the Passed checkbox to be manually set.
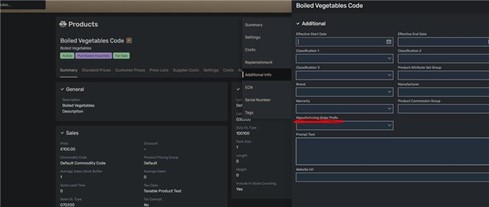
Product MO Prefixing
On the additional info tab on a Product, there is a new field where a MO Prefix can be added. This is so that when an MO is created, this Prefix is used instead and not another or standard Prefix used for every other MO.
After MO is created whilst alternative MO Prefix was set:

Multi-Site MRP
MRP can now be run across multiple sites, allowing you to manage different re-order points and replenishment rules across more than one facility/location
Various Bug Fixes