
To create a new label template from scratch, follow the steps below:
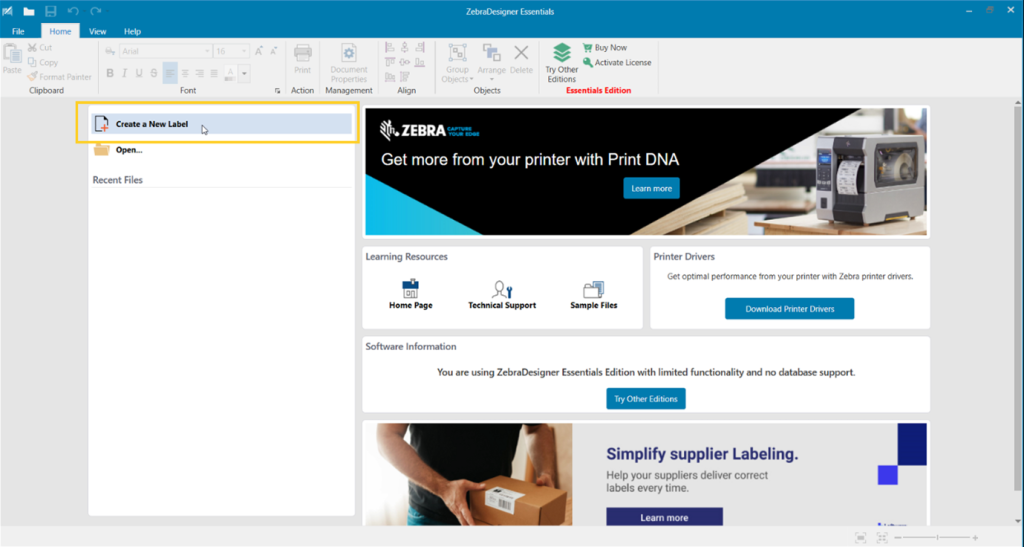
1. Start ZebraDesigner Essentials 3 and click on “Create a New Label.”
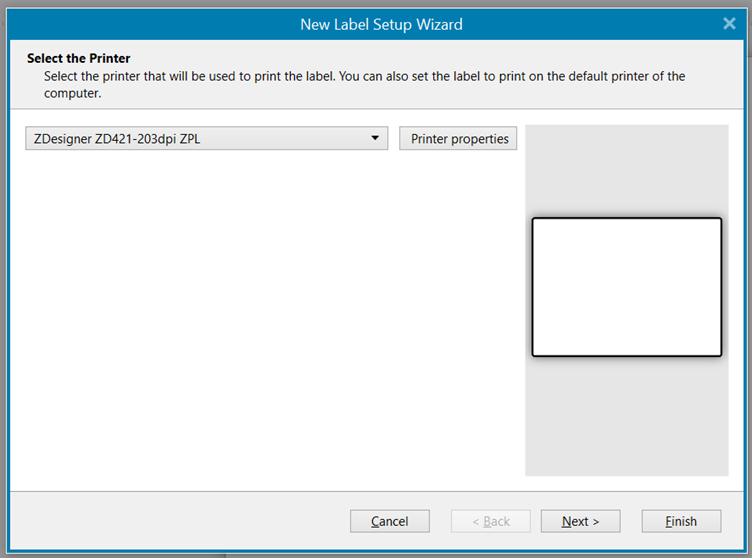
2. Select your Zebra printer and click “Next.”
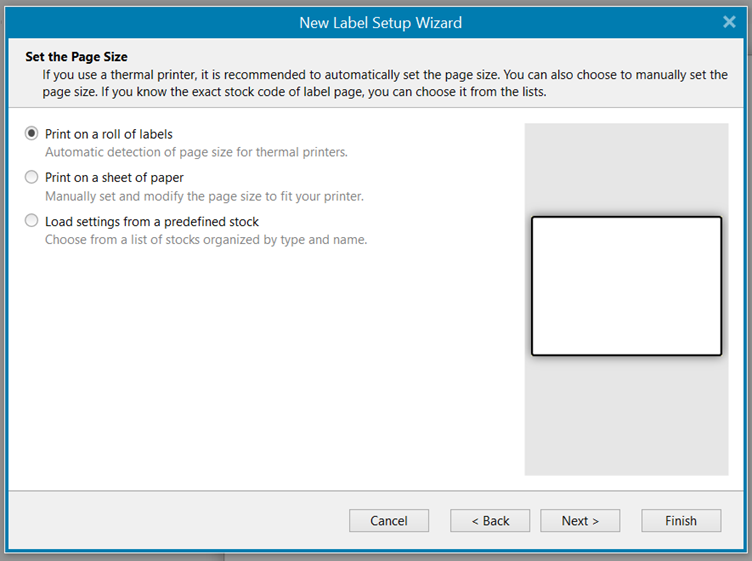
3. Select the type of labels you are using (most commonly it’s a roll of labels) and click “Next.”
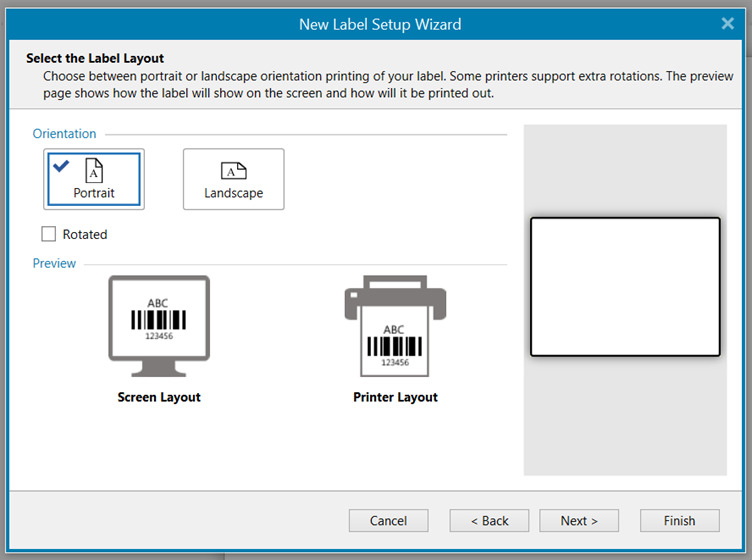
4. Select the label layout (typically, the default portrait setting works well) and click “Next.”
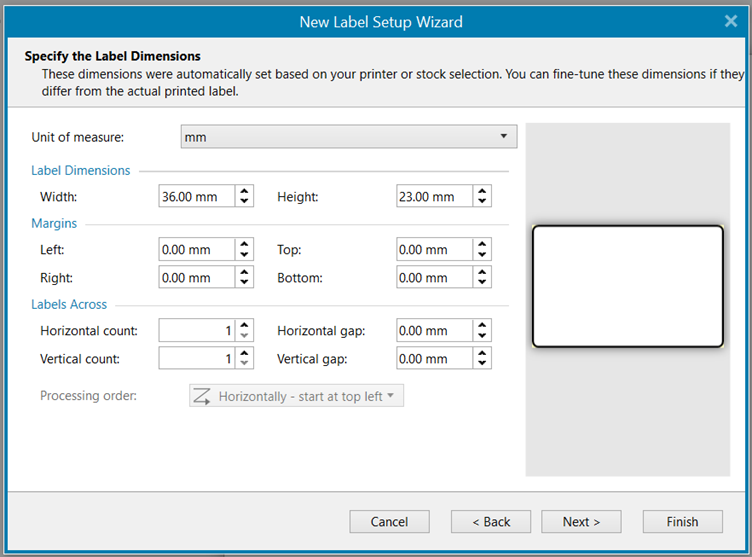
5. Select the dimensions of your label, and then click “Next” and then “Finish.”
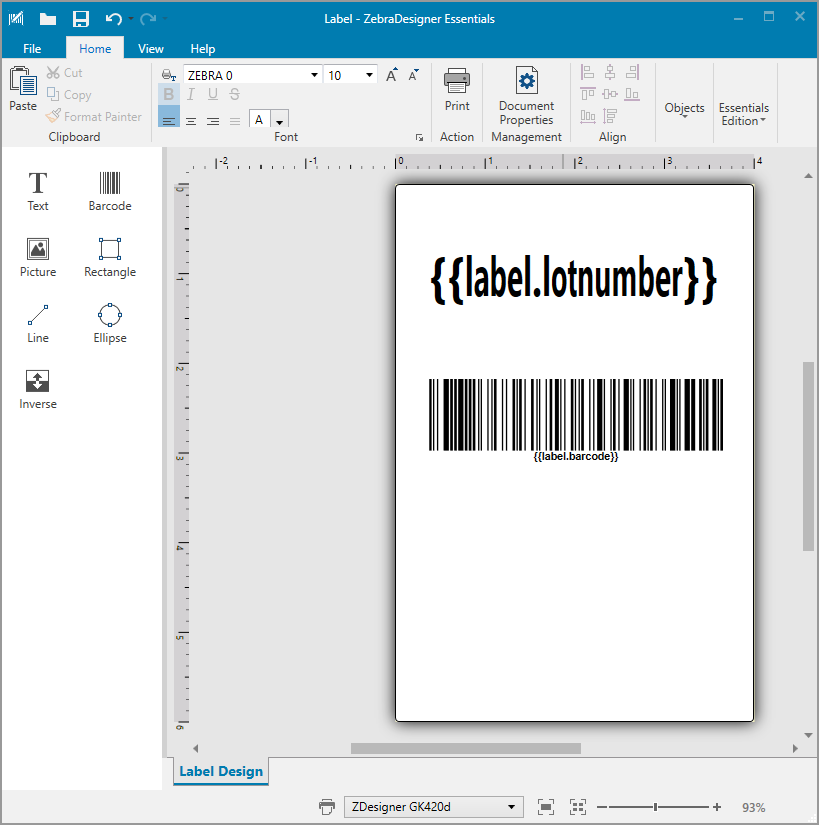
6. Design your label
Add predefined elements (text, barcode, picture, rectangle, line, ellipse) to your label, reposition them and resize them when needed. Several elements have options that you can modify, e.g., barcode’s standard, position, what data it encodes, etc.
You can also add “placeholder fields” to your label template that correspond to specific information queried from WinMan. These fields have specific text within brackets (e.g., {{lot_number}}, and act as placeholders that WinMan would recognise. As the label is rendered, WinMan will replace these fields with actual information from the queried data. These field codes can also be introduced after you add the label template into WinMan.
For example, we added the following items on the label from top to bottom:
Text; Data: Fixed data {{label.lotnumber}} that will be resolved from WinMan data , Font “Zebra 0” 8. At print time, this exact text will be printed on the label.
Barcode; type: Code 128, Source: fixed data “{{label.barcode}}”. At print time, WinMan will dynamically encode data to the barcode.
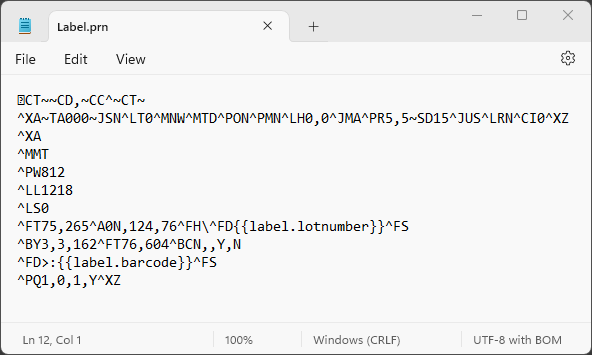
7. Print the label to File and save the .prn file to your computer.
This is an example of a .prn label file opened in NotePad text editor. This text is the Zebra Programming Language (ZPL) code for your label template.
8. Create a new label template in WinMan using the ZPL code from the .prn file.
Open “Labels” in WinMan, and click on “New Label.”
Copy and paste the entire ZPL code from .prn file generated in ZebraDesigner into “Label template” field. Then, name the label and add a label description if required.
Add the data query to extract the information required for the label.
Click “Save”. Your label is now available for printing.
If you are familiar with ZPL code, you can edit the ZPL code directly in the “Label template code” field in WinMan.